Customizing TOM Templates#
So you’ve got a TOM up and running, and your homepage looks something like this:
This is fine for starting out, but since you’re running a TOM for a specific project, the homepage ought to reflect that.
If you haven’t already, please read through the Getting Started docs and return here when you have a project layout that looks something like this:
mytom
├── db.sqlite3
├── manage.py
└── mytom
    ├── __init__.py
    ├── settings.py
    ├── urls.py
    └── wsgi.py
Using Themes#
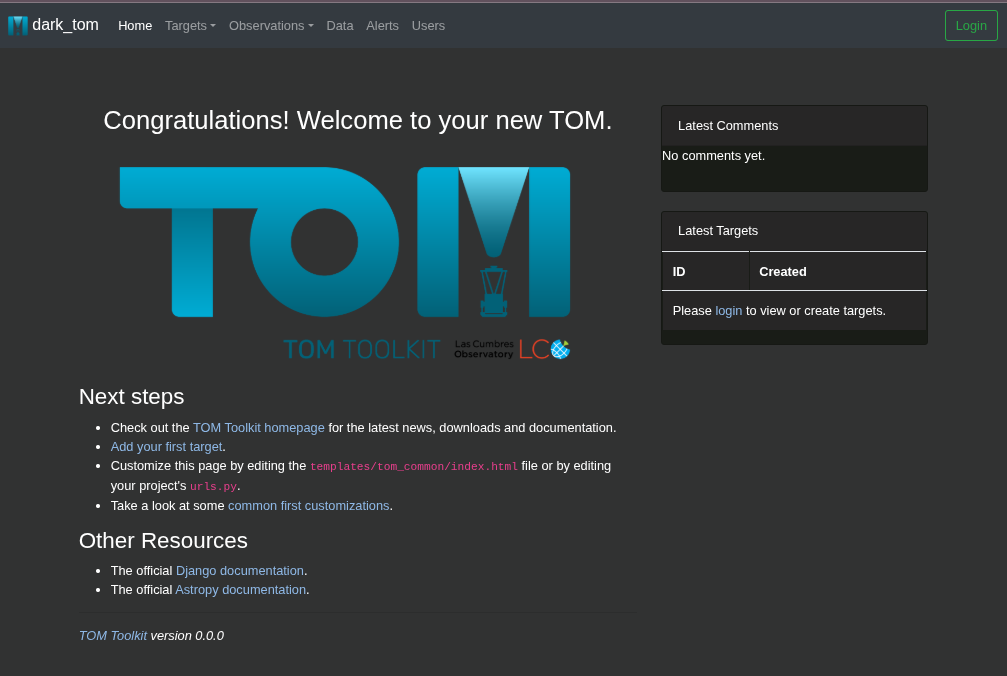
You can set the color theme for your TOM to “Dark Mode” by setting the CSS_THEME = ‘Dark’ in your settings.py.
If the theme doesn’t seem to be working properly, make sure you aren’t overriding key components in your
static/tom_common/css/custom.css file.
Making your own pages#
One very powerful, but more work intensive way to customize your TOM is
to override the html templates included with the TOM
Toolkit. In this example we are going to override the home page, tom_common/index.html, so
that we can edit some text and change the image. Overriding and extending templates is documented
extensively
on Django’s website and we highly recommend reading these docs if you
plan on customizing your TOM further.
Note
You should generally try to avoid overriding entire templates when possible, instead using integration points (described below) or overriding specific partials. This lets you continue to benefit from maintenance done to these pages by the TOM Development team without having to continually update your TOM’s versions of these templates.
Since the template we want to override is already part of the TOM
Toolkit source code, we can use it as a starting point for our
customized template. In fact, we’ll copy and paste the entire thing from
the source code of TOM
Toolkit.
and place it in our project. The template we are looking for is
tom_common/index.html
Let’s download and copy that template into our templates folder
(including the tom_common sub-directory) so that our directory
structure now looks like this:
mytom
├── db.sqlite3
├── manage.py
├── templates
│   └── tom_common
│       └── index.html
└── mytom
    ├── __init__.py
    ├── settings.py
    ├── urls.py
    └── wsgi.py
Now let’s make a few changes to the templates/tom_common/index.html
template:
{% extends 'tom_common/base.html' %}
{% load static targets_extras observation_extras dataproduct_extras tom_common_extras %}
{% block title %}Home{% endblock %}
{% block content %}
<div class="row">
  <div class="col-md-8">

    <!-- BEGIN MODIFIED CONTENT -->

    <h2 class="text-center">Project LEO</h2>
    <p class="text-center"><img src="https://raw.githubusercontent.com/TOMToolkit/tomtoolkit.github.io/master/assets/img/customize_templates_doc/sciencecat.jpg" class="img-fluid mx-auto"></p>
    <p>Project LEO is a very serious survey of the most important constellation.</p>

    <!-- END MODIFIED CONTENT -->

    <h3>Next steps</h3>
    <ul>
      <li>
        Check out the <a href="https://tom-toolkit.readthedocs.io/en/stable/" title="TOM Toolkit home page">TOM
        Toolkit homepage</a> for the latest news, downloads and documentation.
      </li>
      <li>
        <a href="{% url 'targets:create' %}" title="Create Target">Add your first target</a>.
      </li>
      <li>
        Customize this page by editing the
        <code>templates/index.html</code> file or by editing your
        project's <code>urls.py</code>.
      </li>
      <li>
        Take a look at some <a href="https://tom-toolkit.readthedocs.io/en/stable/customization/common_customizations.html">common first customizations</a>.
      </li>
    </ul>
    <h3>Other Resources</h3>
    <ul>
      <li>The official <a href="https://www.djangoproject.com/">Django documentation</a>.</li>
      <li>The official <a href="http://www.astropy.org/">Astropy documentation</a>.</li>
    </ul>
  </div>
  <div class="col-md-4">
    <div class="card">
      <div class="card-header">
        Latest Comments
      </div>
      {% recent_comments %}
    </div>
    <br/>
    <div class="card">
      <div class="card-header">
        Latest Targets
      </div>
      {% recent_targets %}
  </div>
</div>
{% endblock %}
Look for the block of HTML we changed between the <!– BEGIN MODIFIED CONTENT –> and <!– END MODIFIED CONTENT –> comments. Everything else is the same as the base template.
We’ve just changed a few lines of HTML, but basically left the template alone. Reload your homepage, and you should see something like this:
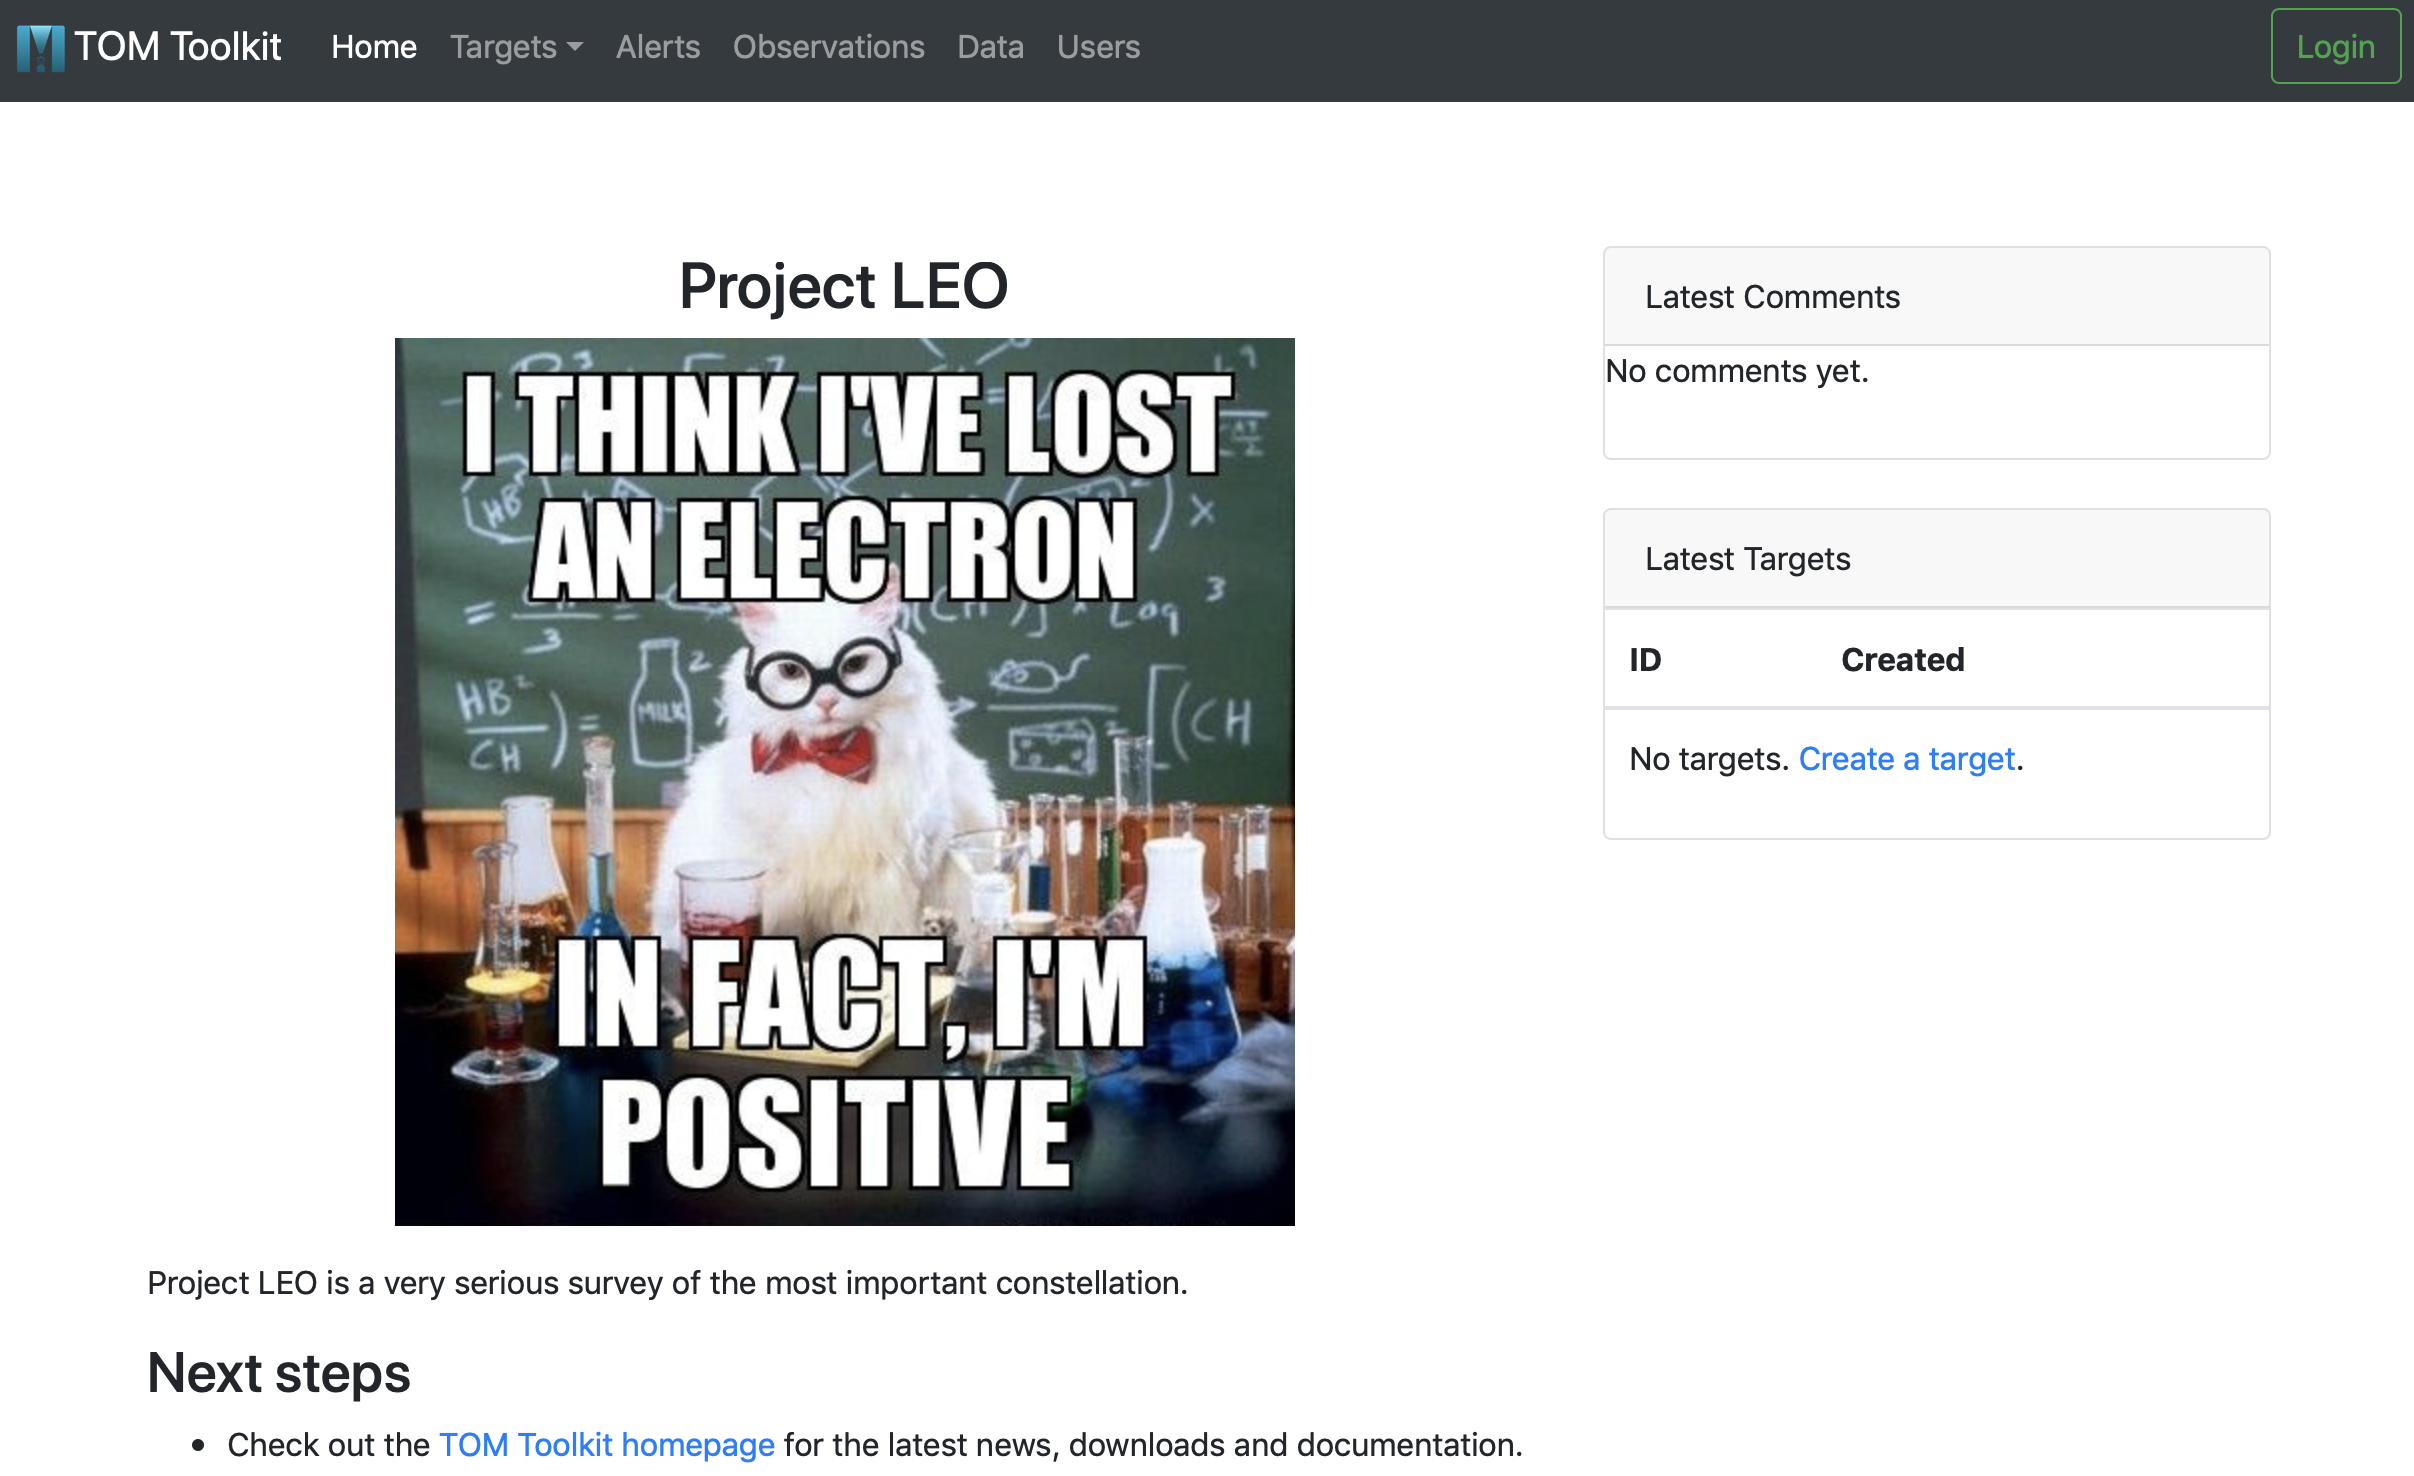
That’s it! You’ve just customized your TOM homepage.
Using static files#
Instead of linking to an image hosted online already, we can display static files in our project directly. For this we will use Django’s static files capabilities.
Updating Built-in Static Files:#
The TOM Toolkit allows you to easily overwrite some default style settings and image files. The default static files can be found in the following structure:
mytom
├── manage.py
├── templates
├── mytom
└── static
    └── tom_common
        ├── css
        │   └── custom.css
        └── img
Customize default CSS:#
The default styling is mostly based on Bootstrap v5.3.8 (https://getbootstrap.com/).
If you ran the tom_setup script, you should have a directory static at the top level of your project.
Within this folder, find the tom_common/css directory. In this folder, is a file named custom.css.
Editing this file will allow you to overwrite any of the css used at the base level in the TOM Toolkit, including the
styling established by TOMToolkit themes such as “Dark Mode”.
The TOMToolkit has several built in variables that allow you to establish a theme for your TOM. You can see these in
root dictionary in your custom.css. Altering these will change the appearance of large portions of the website.
As an example, let’s change the background color from white (#ffffff) to an off-white (#efead6).
Add the following in your custom.css after the comments:
:root {
    --theme_primary: #efead6;
}
Once you have added these images to the static/tom_common/img directory and reloaded the page (you may need to
clear the Cache as well), you should now see your changes displayed on the page.
This example is a fairly heavy handed change that will affect the entire TOM including any elements that inherit
from the body background-color. More subtle and complex changes will require more careful editing of the
custom.css file. Note: you can use your browser’s developer tools to inspect the elements of the TOM in order
to determine which css classes are being used and how to best style them.
Customize default Logos and Icons:#
If you ran the tom_setup script, you should have a directory static
at the top level of your project. Within this folder, find the tom_common/img directory.
In this folder, place the images you’d like to use in your TOM to replace the default TOMToolkit Logos and Icons.
The images should be named as follows:
logo-color.png --> Full Color Logo used on Main Page
logo-color-cropped.png --> Smaller Logo used on the Navbar
favicon-32.ico --> Favicon used in the browser tab
The use of logo-color.png assumes that you are using the original TOMToolkit html for your homepage. Specifically, the following line of code should be left intact and not edited as in the example above:
<p class="text-center"><img src="{% static 'tom_common/img/logo-color.png' %}" class="img-fluid mx-auto"></p>
Once you have added these images to the static/tom_common/img directory and reloaded the page (you may need to
clear the Cache as well), you should now see your images displayed instead of the default images provided by TOMToolkit.
Adding Your Own Static Files:#
In some cases you may want to more directly reference a local file.
In this case, you should add a img directory in the static directory
at the top level of your project. In this folder, place an image you’d like to display on your
homepage. For example, mytom.jpg.
cp mytom.jpg static/img/
Now let’s edit our template to use Django’s static template tag to
display the image:
{% raw %}
<p class="text-center"><img src="{% static 'img/mytom.jpg' %}" class="img-fluid mx-auto"></p>
{% endraw %}
After reloading the page, you should now see mytom.jpg displayed
instead of the remote cat image.
Using Integration Points:#
The TOM toolkit provides a number of “integration points” that allow you to integrate your code with the base TOM Toolkit code so you don’t have to overwrite templates. This has several benefits, including flexibility what apps you include, automatic app compatibility, simpler app installation, and the ability to gain new TOM Base improvements without updating your existing code.
The key to accessing these integration points is adding the integration methods to your AppConfig in your custom_code.apps.py file.
Current integration points include adding items to the navigation bar, adding tom_specific profile information to the user profile page, and more. A complete list of integrations, example code, and descriptions are available in the tom_demoapp repository.
Further Reading#
Any template included in the TOM Toolkit (or any other Django app) can be customized. Please see the official Django docs for more details.