Customizing TOM Templates
So you’ve got a TOM up and running, and your homepage looks something like this:
 Fresh Tom
This is fine for starting out, but since you’re running a TOM for a specific project, the homepage ought to reflect that.
If you haven’t already, please read through the Getting Started docs and return here when you have a project layout that looks something like this:
mytom
├── db.sqlite3
├── manage.py
└── mytom
    ├── __init__.py
    ├── settings.py
    ├── urls.py
    └── wsgi.py
We are going to override the html template included with the TOM Toolkit, tom_common/index.html,
so that we can edit some text and change the image. Overriding and extending templates is
documented extensively on
Django’s website and we highly recommend reading these docs if you plan on customizing your
TOM further.
The first step is to tell Django where to look for templates you provide.
In your projects settings.py we will edit the DIRS attribute of the TEMPLATES setting
to include a folder called templates/ under the base directory of your project.
TEMPLATES = [
    {
        'BACKEND': 'django.template.backends.django.DjangoTemplates',
        'DIRS': [os.path.join(BASE_DIR, 'templates')],
        'APP_DIRS': True,
        'OPTIONS': {
            'context_processors': [
                'django.template.context_processors.debug',
                'django.template.context_processors.request',
                'django.contrib.auth.context_processors.auth',
                'django.contrib.messages.context_processors.messages',
            ],
        },
    },
]
What this means is we can now create a folder called templates in our project, and this
is where we will place our custom templates.
As mentioned before, the template we want to override is the included tom_common/index.html
template. You can find this template in the
source code of TOM Toolkit.
Let’s download and copy that template into our new templates folder (including the tom_common
sub-directory) so that our directory structure now looks like this:
├── db.sqlite3
├── manage.py
├── templates
│   └── tom_common
│       └── index.html
└── tomtest
    ├── __init__.py
    ├── settings.py
    ├── urls.py
    └── wsgi.py
Now let’s make a few changes to the templates/tom_common/index.html template:
{% raw %}
{% extends 'tom_common/base.html' %}
{% load static targets_extras tom_common_extras %}
{% block title %}Home{% endblock %}
{% block content %}
<div class="row">
  <div class="col-md-8">
    <h2 class="text-center">Project LEO</h2>
    <p class="text-center"><img src="https://raw.githubusercontent.com/TOMToolkit/tomtoolkit.github.io/master/assets/img/customize_templates_doc/sciencecat.jpg" class="img-fluid mx-auto"></p>
    <p>Project LEO is a very serious survey of the most important constellation.</p>
    <h3>Next steps</h3>
    <ul>
      <li>
        Check out the <a href="https://tomtoolkit.github.io" title="TOM Toolkit home page">TOM Toolkit homepage</a>
        for the latest news, downloads and documentation.
      </li>
      <li>
        <a href="{% url 'targets:create' %}" title="Create Target">Add your first target</a>.
      </li>
      <li>
        Check out some <a href="">example code</a>.
      </li>
      <li>
        Customize this page by editing the
        <code>templates/index.html</code> file or by editing your
        project's <code>urls.py</code>.
      </li>
    </ul>
    <h3>Other Resources</h3>
    <ul>
      <li>The official <a href="https://www.djangoproject.com/">Django documentation</a>.</li>
      <li>The official <a href="http://www.astropy.org/">Astropy documentation</a>.</li>
    </ul>
  </div>
  <div class="col-md-4">
    <div class="card">
      <div class="card-header">
        Latest Comments
      </div>
      {% recent_comments %}
    </div>
    <br/>
    <div class="card">
      <div class="card-header">
        Latest Targets
      </div>
      {% recent_targets %}
  </div>
</div>
{% endblock %}
{% endraw %}
We’ve just changed a few lines of HTML, but basically left the template alone. Reload your homepage, and you should see something like this:
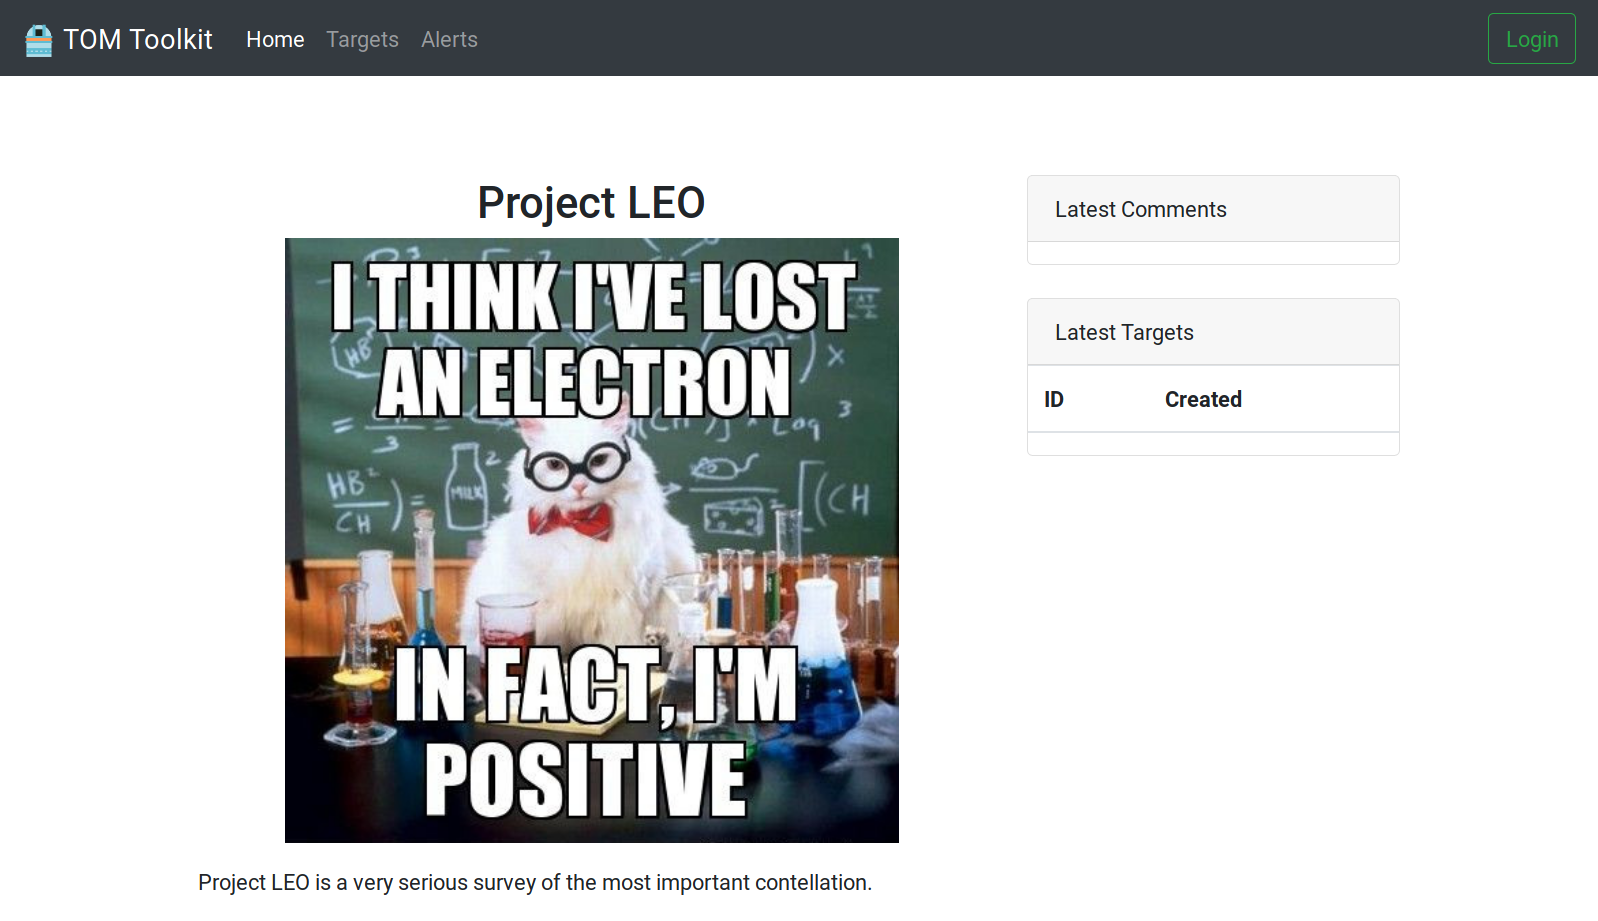 modified homepage
Thats it! You’ve just customized your TOM homepage.
Using static files
Instead of linking to an image hosted online already, we can display static files in our project directly. For this we will use Django’s static files capabilities.
If you ran the tom_setup script, you should have a directory static at the top
level of your project. Within this folder, make a directory img. In this folder,
place an image you’d like to display on your homepage. For example, mytom.jpg.
cp mytom.jpg static/img/
Now let’s edit our template to use Django’s static template tag to display the
image:
{% raw %}
<p class="text-center"><img src="{% static 'img/mytom.jpg' %}" class="img-fluid mx-auto"></p>
{% endraw %}
After reloading the page, you should now see mytom.jpg displayed instead of the
remote cat image.
Further Reading
Any template included in the TOM Toolkit (or any other Django app) can be customized. Please see the official Django docs for more details.